
Main sections
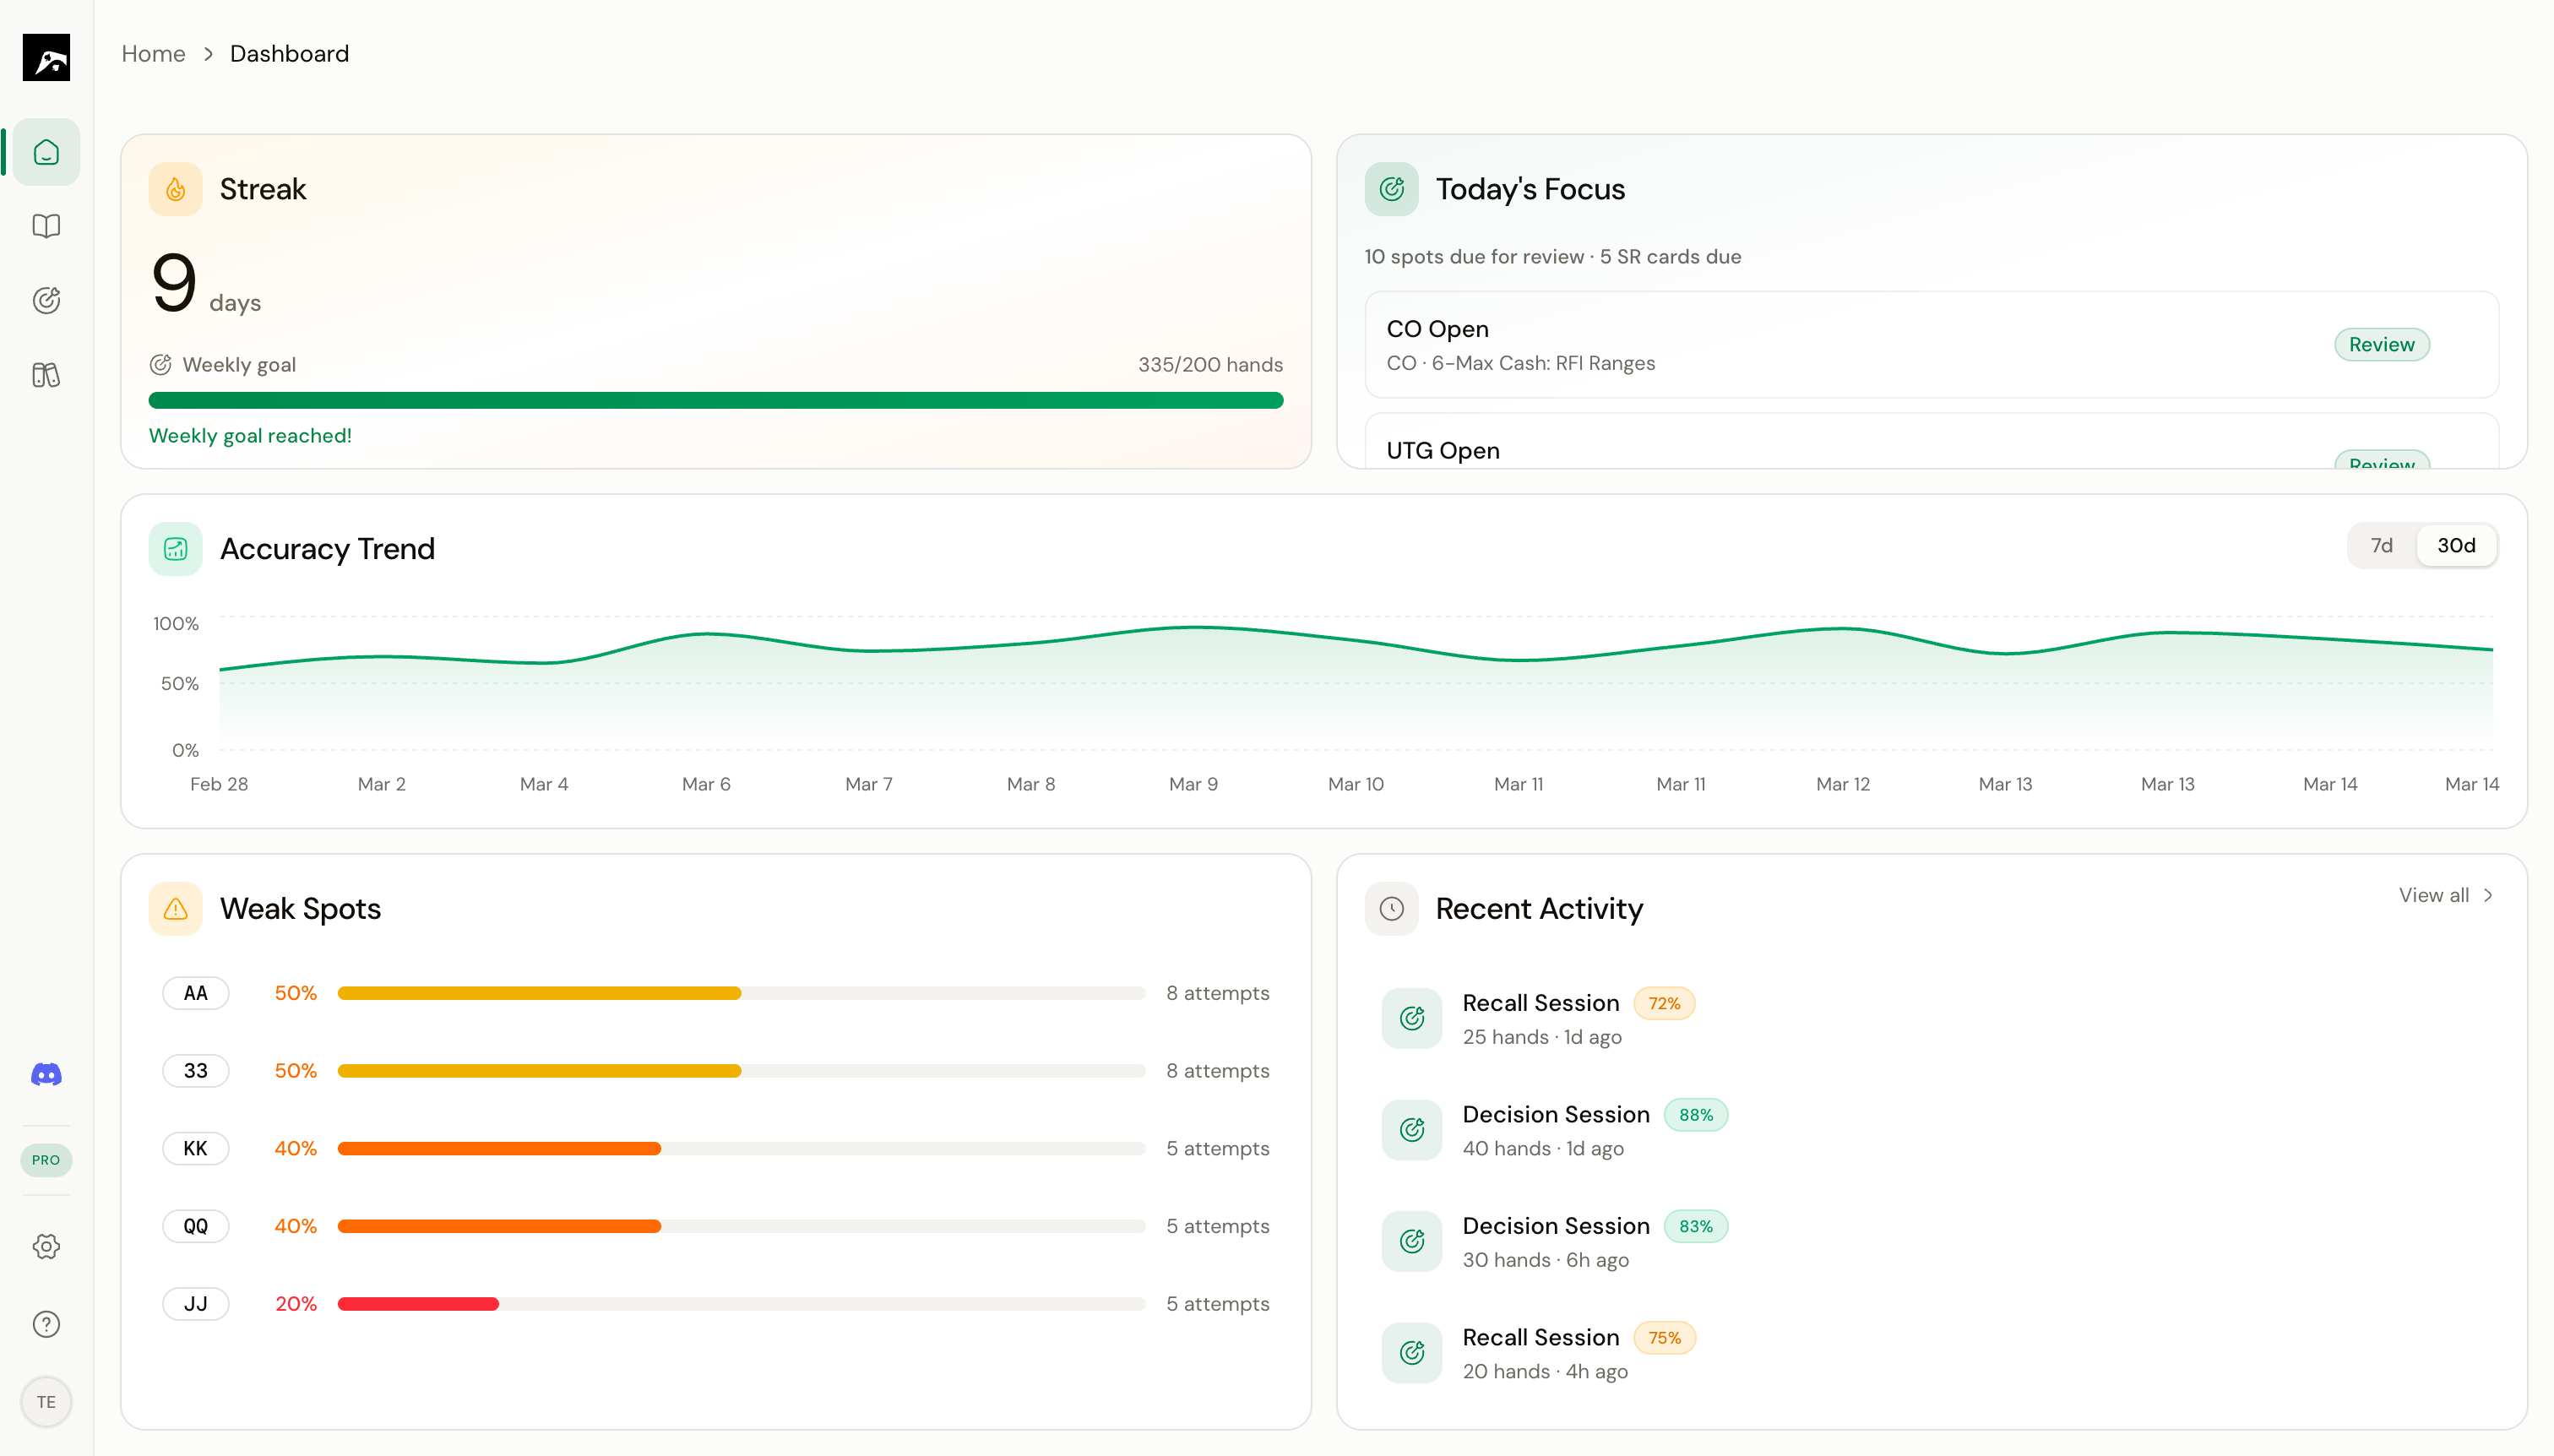
The navigation rail
The nav rail runs along the left edge of the screen. Each icon takes you to one of the four main sections. The bottom of the rail gives you access to Settings and your Account.The command bar
Press ⌘K (Mac) or Ctrl+K (Windows) anywhere in the app to open the command bar. This is the fastest way to:- Search for any strategy, spot, or study plan by name
- Navigate to any section of the app
- Run actions like starting a training session, creating a strategy, or toggling overlays
Study workspace layout
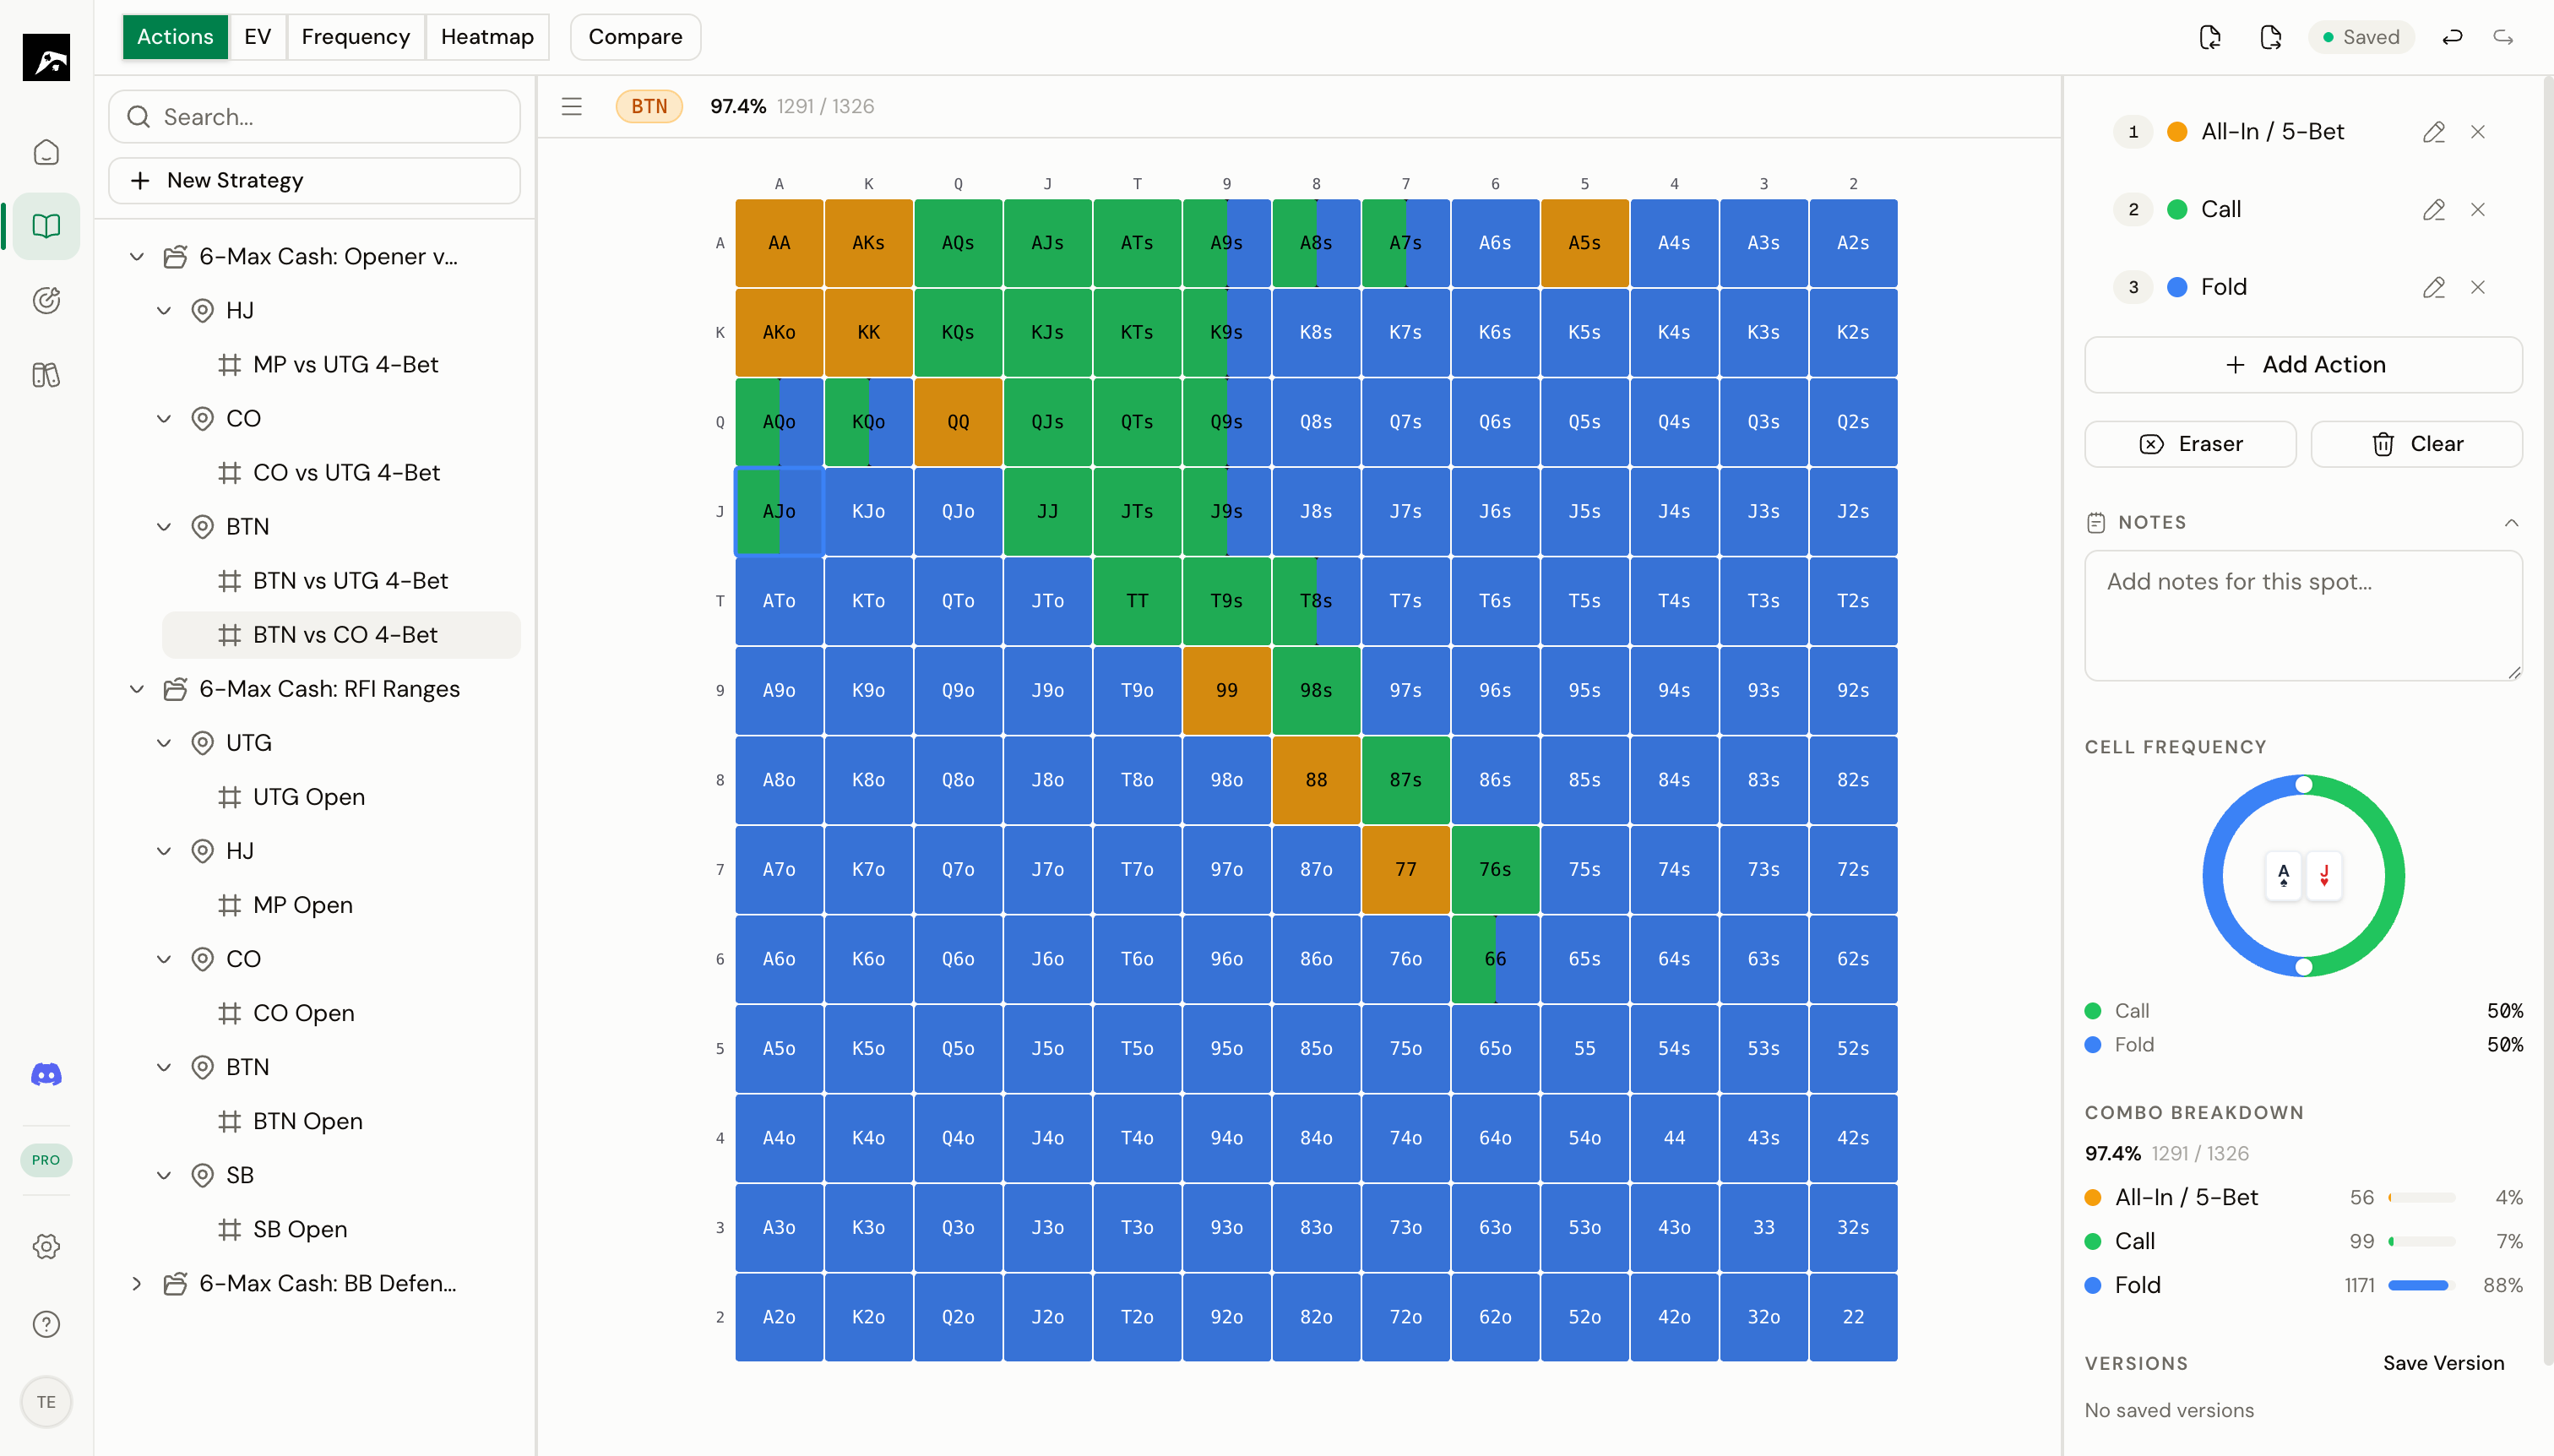
Above the grid you’ll see the spot context bar, which shows the current spot’s position, action line, and stack depth.
Above that is the toolbar, which gives you access to overlays, compare mode, import, export, and training shortcuts.
Settings panel
Click the gear icon in the nav rail to open the Settings panel. From here you can manage:- Account — Email, password, linked providers
- Preferences — Default action colors, training settings
- Theme — Dark, light, or system-based appearance
- Subscription — View your current plan, upgrade, or manage billing
Keyboard shortcuts
RangeSharp is designed for keyboard-first use. Here are the most important shortcuts to know from the start:
See Keyboard Shortcuts for the full list.